DIY Cupid’s Crispy Valentine’s Day Bags using Crispy Strawberry and Crispy Banana.
Valentine’s Day sweets don’t have to be filled with sugar to be sweet, so here’s an idea for what to give kids for Valentine’s Day that isn’t candy.
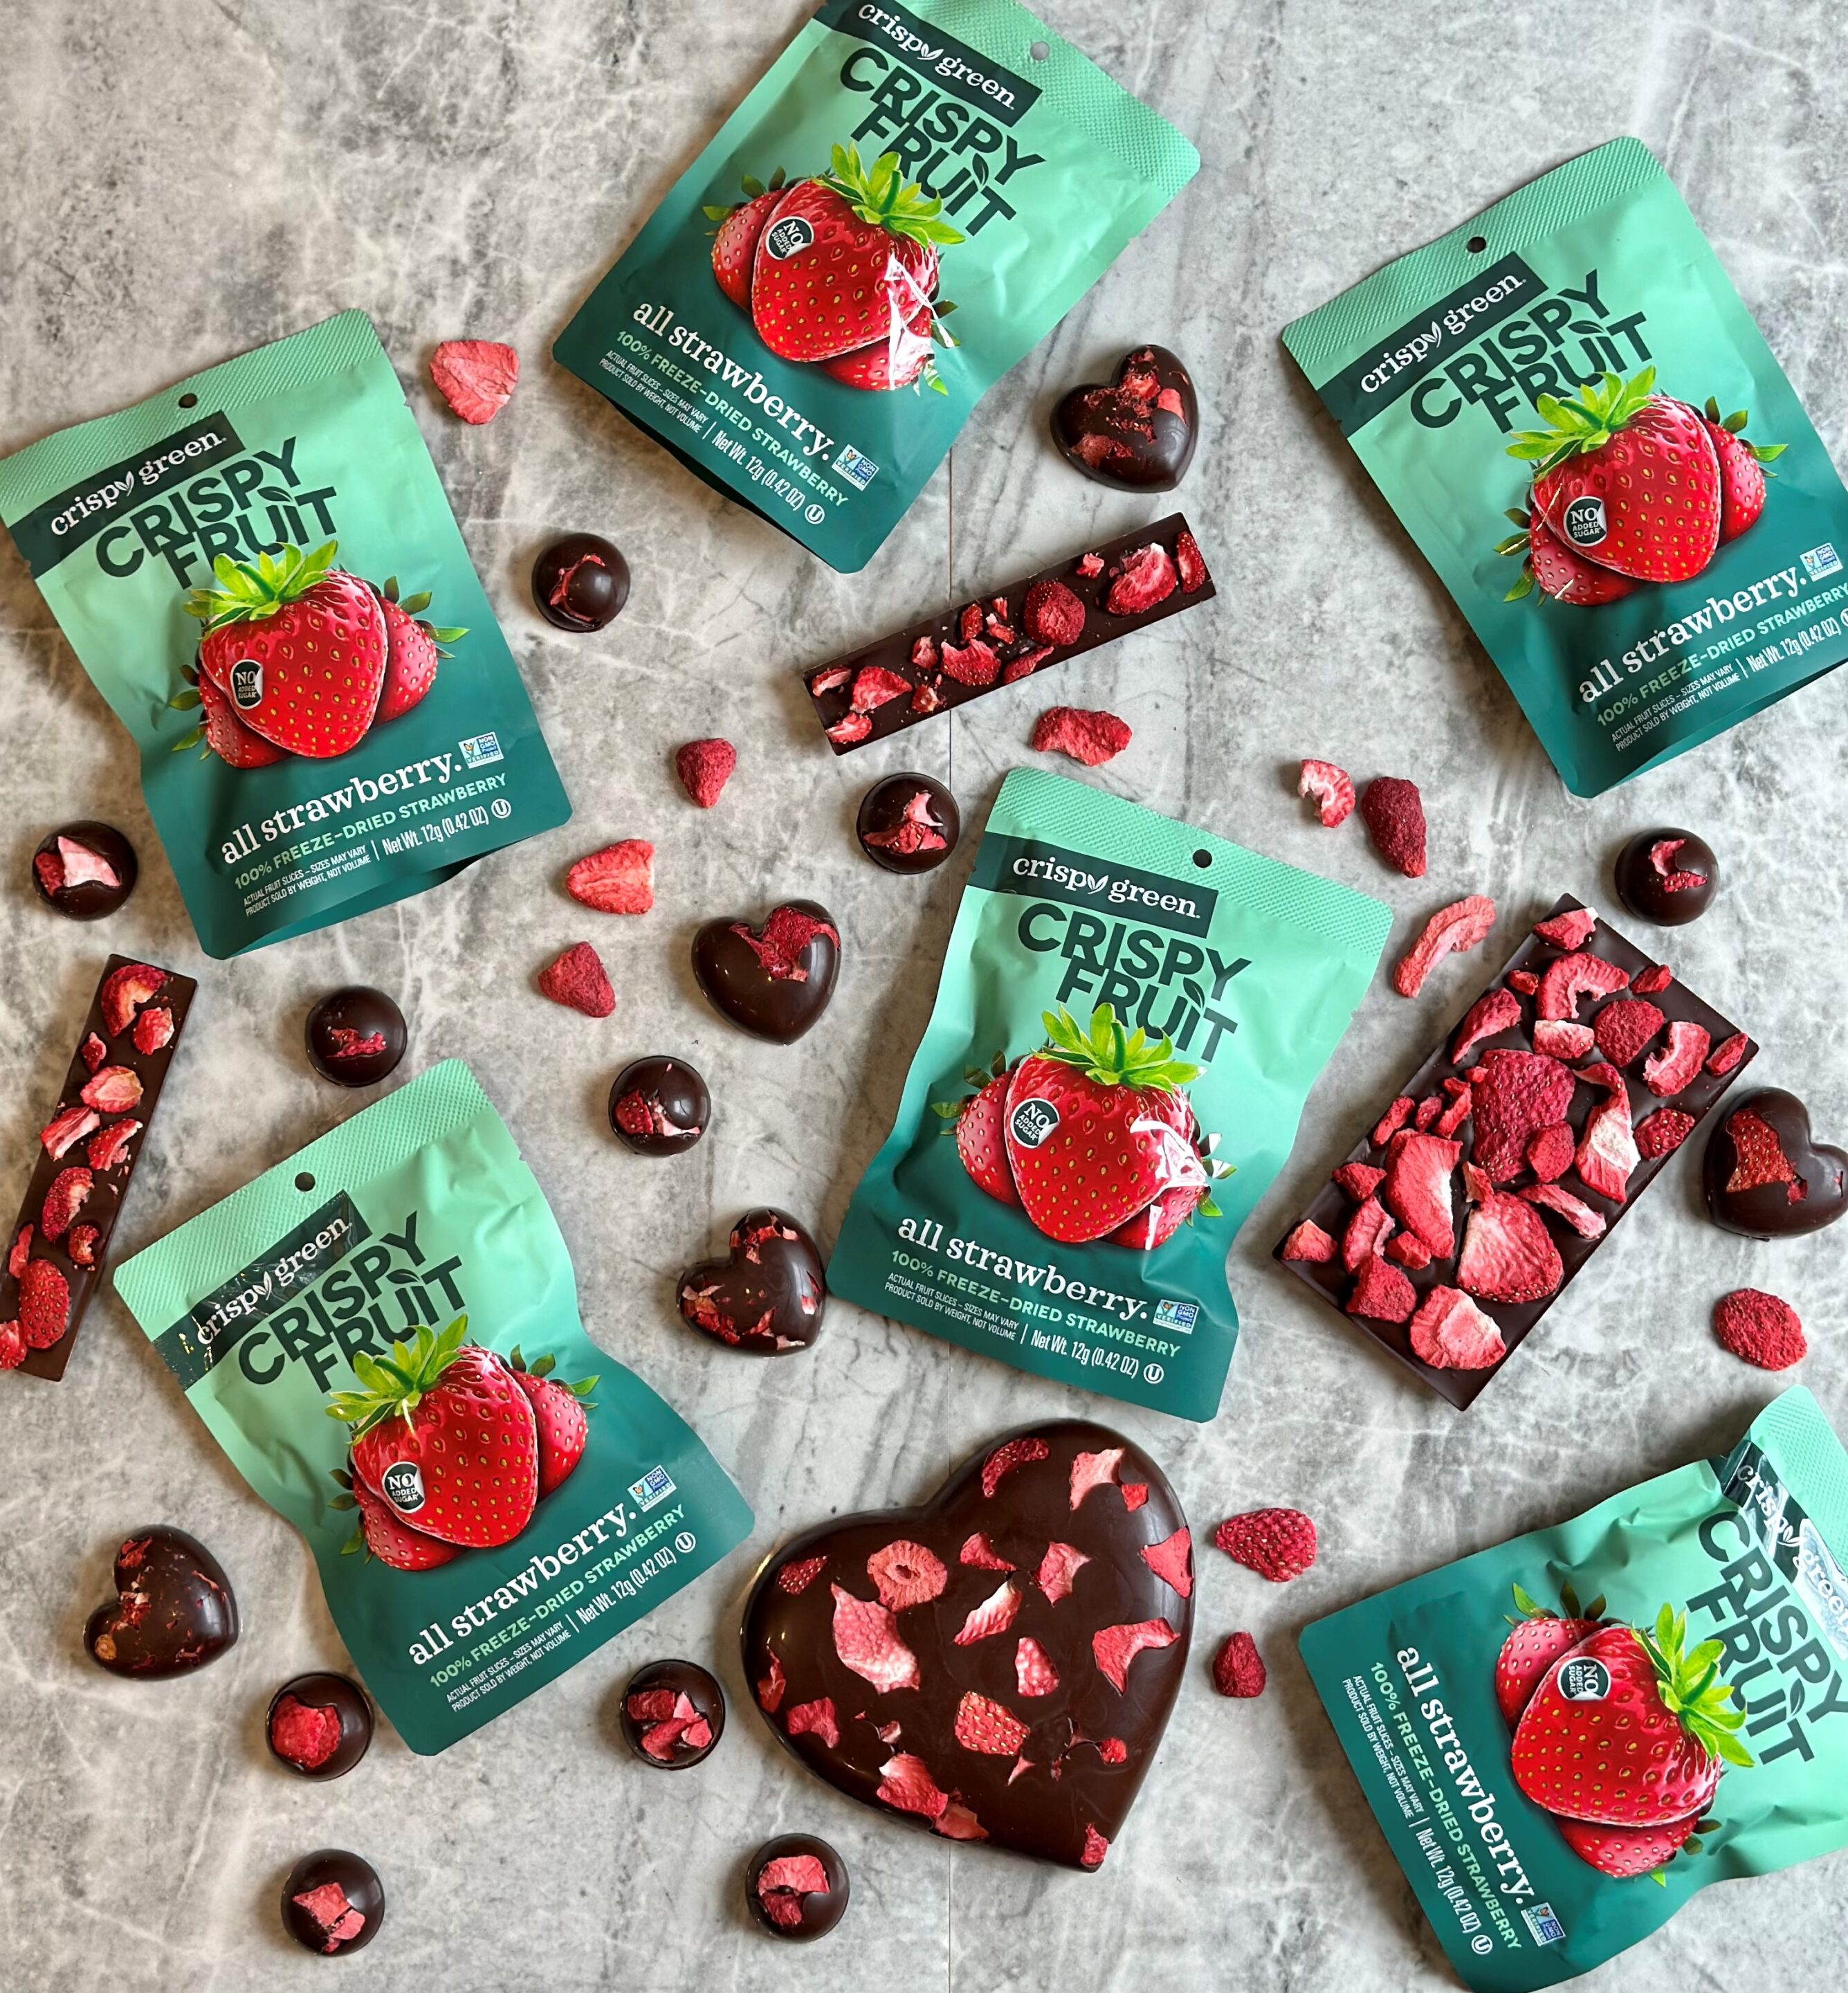
We partnered with the Healthy Family Project to create these adorable DIY Cupid’s Crispy Valentine’s Day Bags using Crispy Strawberry and Crispy Banana.
Enjoy our step-by-step instructions and share your finished projects with us over Instagram and TikTok.
Warning: Undefined array key 0 in /var/www/smartlifebites.crispygreen.com/wp-includes/taxonomy.php on line 2317


Materials required to make the DIY Cupid’s Crispy Valentine’s Day Bags using Crispy Strawberry and Crispy Banana.
Materials Needed
Computer with internet access
Printer
Card stock paper or regular printer paper
Scissors
Ribbon or string
Hole Punch
Crispy Green Freeze-Dried Fruit Snack
Instructions:
Step 1: Download the Valentine’s Day Template:
Click on the provided download link. This should prompt the file to download onto your computer. Make sure to save it in a location you can easily access, like your desktop or a dedicated folder.
Link: Crispy Green DIY Cupid’s Crispy Valentine’s Day Bags Templates

Crispy Green monkey and banana Valentine’s Day template.
Step 2: Open the Template File:
After saving the file to an easily accessible location, locate the downloaded file on your computer. To open the file, you will need to double click it and then open it using a PDF viewer, such as Adobe Acrobat, or any software compatible with the file format.

Crispy Green strawberry Valentine’s Day template.
Step 3: Print the Valentine’s Day Cards
Once the file is open, navigate to the menu and select ‘Print.’ Tune the printing preferences to your liking—whether it’s a burst of color or a classic grayscale. Don’t forget to set the paper size for that perfect fit! If printing on cardstock, adjust the printer settings accordingly. Some printers have specific settings for thicker paper. With everything now set, click ‘Print’ on the PDF viewer or software, and allow the printer to begin printing out your festive Crispy Green Valentine’s Day Cards!

Print your favorite Crispy Green Valentine’s Day template.
Step 4: Trim the Cards
With the printout in hand, safely grab a pair of scissors or a paper trimmer. Carefully cut along the designated lines to separate each card from one another. Attention to detail ensures a polished final product!

Trim your Crispy Green Valentine’s Day template.
Step 5: Assemble and Attach
Personalize each card by writing your heartfelt message inside. Now you will need to grab your hole puncher to make a hole near the top of the card. This will now allow you to attach a colorful ribbon or string to your Crispy Green Fruit Snack or Valentine’s Day Bag. Don’t forget to add your own touch of tender loving care

Assemble your Crispy Green templates and hole puncher!

Attach your Crispy Green Valentine’s Day template to your bag!
Step 6: Share the Love
With your beautifully crafted homemade Valentine’s Day Card created all that is left is to share the love! Hand out these handmade cards to your loved ones, classmates, friends, or family members. Let the warmth of your heartfelt creation brighten up your special someone’s Valentine’s Day!

Share the love with your DIY Cupid’s Crispy Valentine’s Day Bags!
P.S. don’t forget to treat yourself too! Craft an extra card and enjoy a flavorful crunch of Crispy Fruit’s energizing freeze-dried snacks. Self-love is just as important!

Craft your DIY Cupid’s Crispy Valentine’s Day Bags with your family!